
How to Take Beautiful iPhone Photos
In this article, we spill all of our insider knowledge on upgrading your brand's online presence with just your smartphone.
Many creators' Instagram feeds are dominated by iPhone photography and still look sophisticated, artful, and professional. Taking beautiful iPhone photography is a craft that can be learned. There are quick and easy-to-implement tactics that will level up your iPhone photography in minutes, and there are deeper strategies that will require thoughtfulness and practice.

LIGHTING
When taking iPhone photos, lighting is incredibly impactful. Natural light that's soft and diffused is always best. If you are indoors and have a window that lets in indirect light (direct sunlight won't work as well for photos), ensure your subject is facing that window. If you are outdoors, find the shade on a sunny day or find the light on a cloudy day.
If you want to get a little more creative with your lighting, play with intentional shadows. These may already exist, or you can create them with other objects. Additionally, you may try partial side lighting, which is a classic portrait lighting setup. When your subject is a person, you can create "Rembrandt" lighting (like the painter) by angling the face to one side or another—you'll know you have it right when you see a distinct triangle of light on the cheek on the shadow side of the face.
For low-light photos, ensure your hand is stable to avoid a shaky picture, use flash sparingly, and play with the exposure by tapping the screen in your iPhone camera and dragging the little yellow sun icon up and down. The HDR feature on iPhone is lovely for capturing detail. To turn this on, visit Settings > Camera and enable the Smart HDR switch.
THE ARTISTIC EYE
Developing an artistic eye takes practice. Like training your flexibility, you’ll only get more bendy by stretching. The same applies to photography. If you want to take artful and evocative photos, you need to shoot more. With repetition, you will start to get better at choosing your compositions. Practicing taking pictures helps in a variety of ways. Be aware of those around you, colour schemes you find appealing, and items that demand your attention. Get in the habit of capturing those moments before they pass by. As you do this, be purposeful when you take a photo. Embody a feeling in your capture through your lighting, composition, angle, and focus. This is what makes your imagery bespoke.
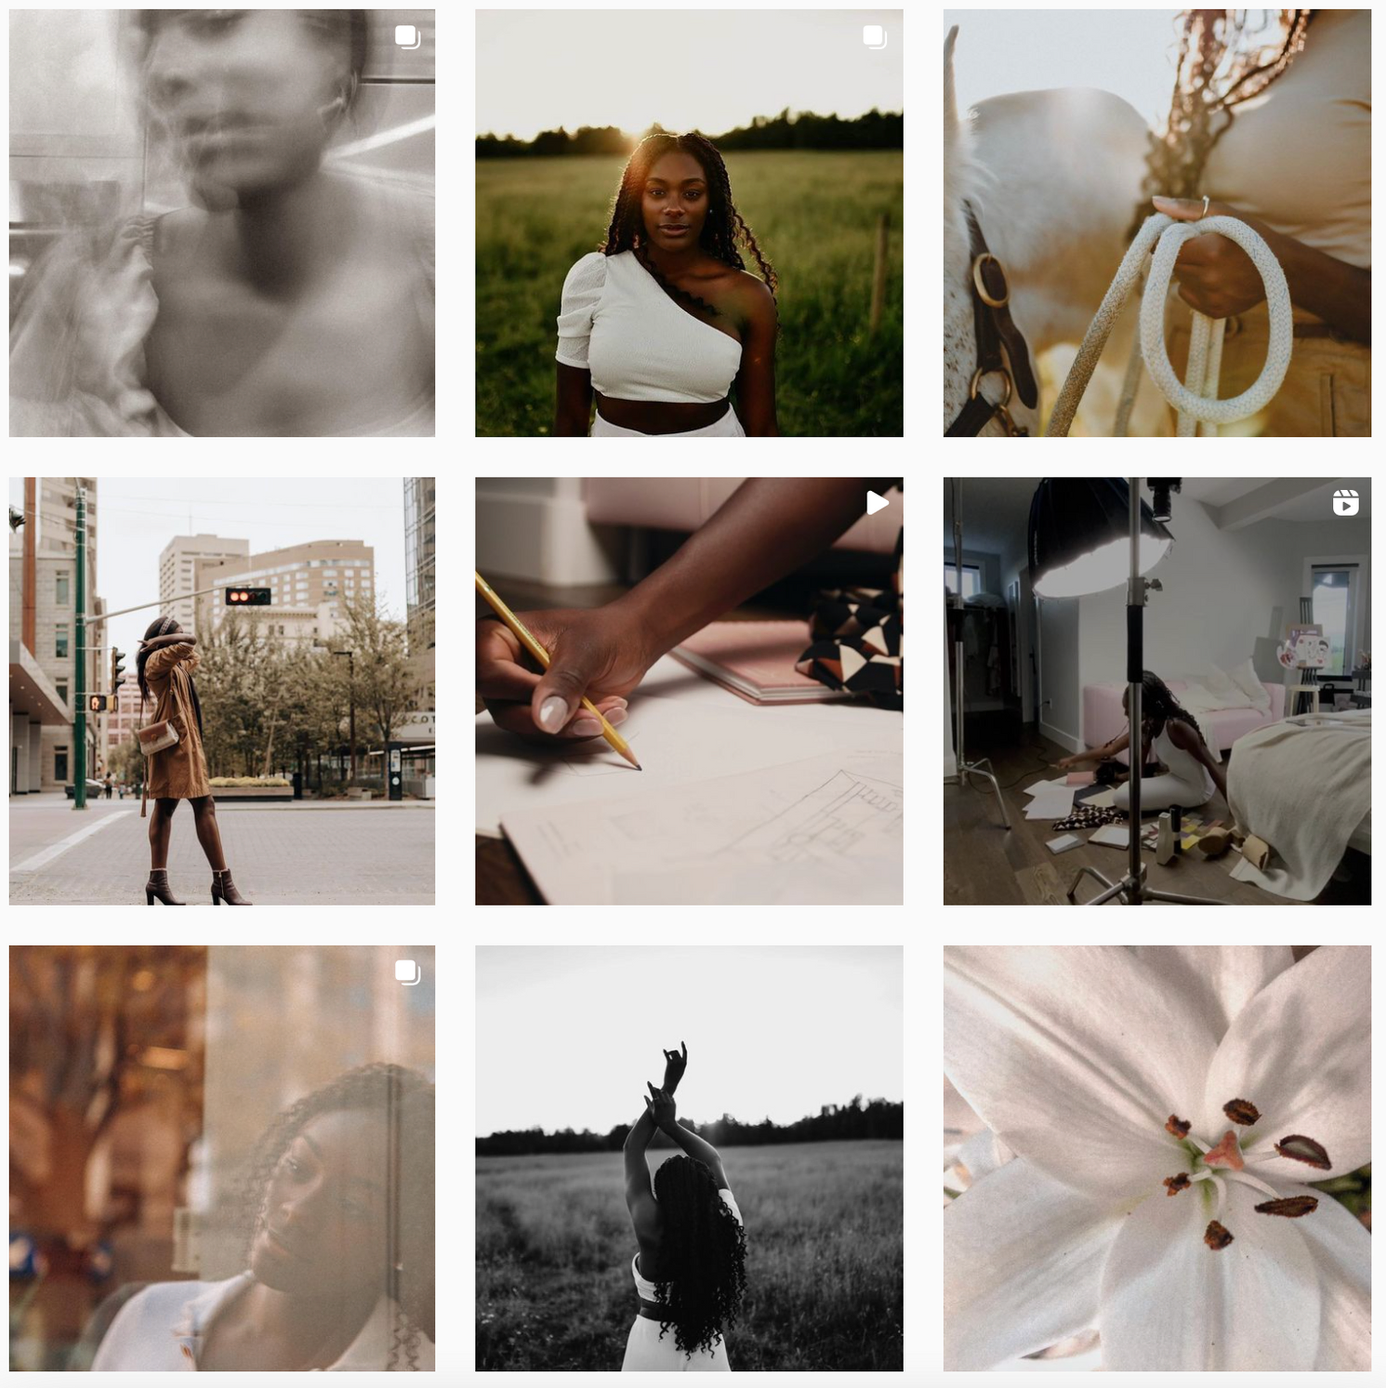
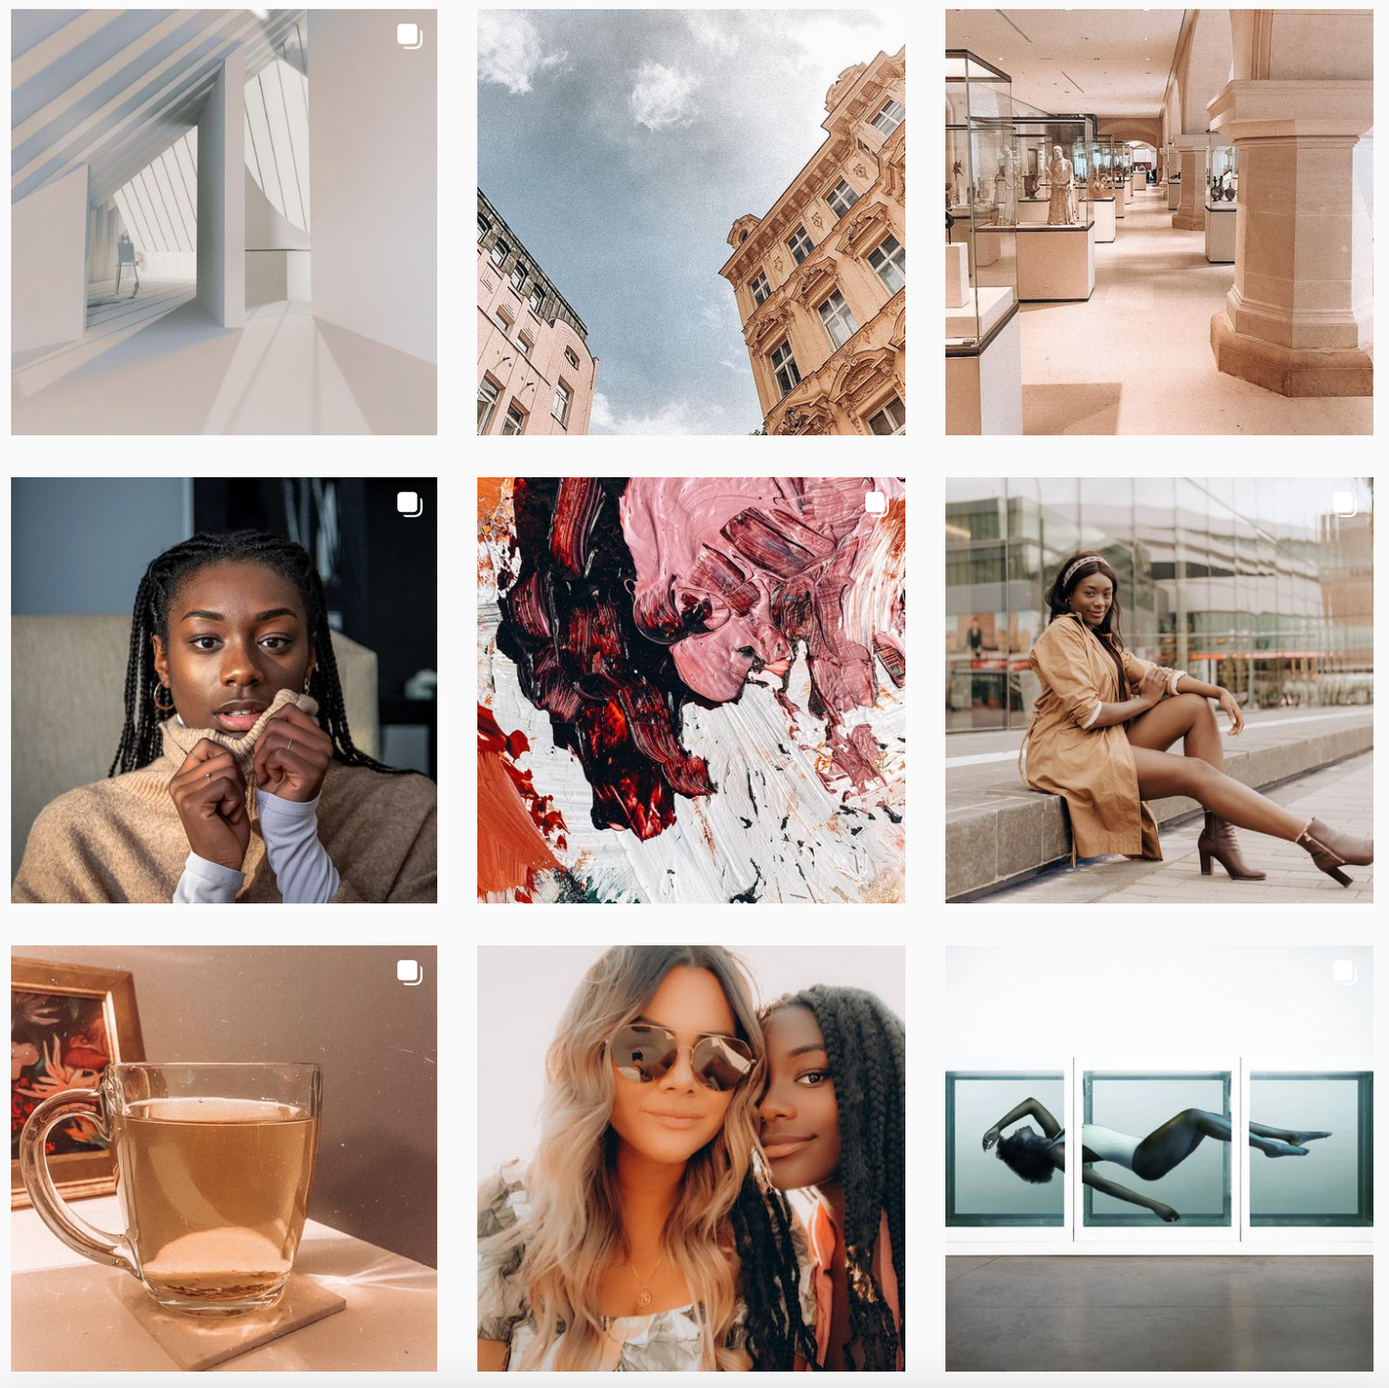
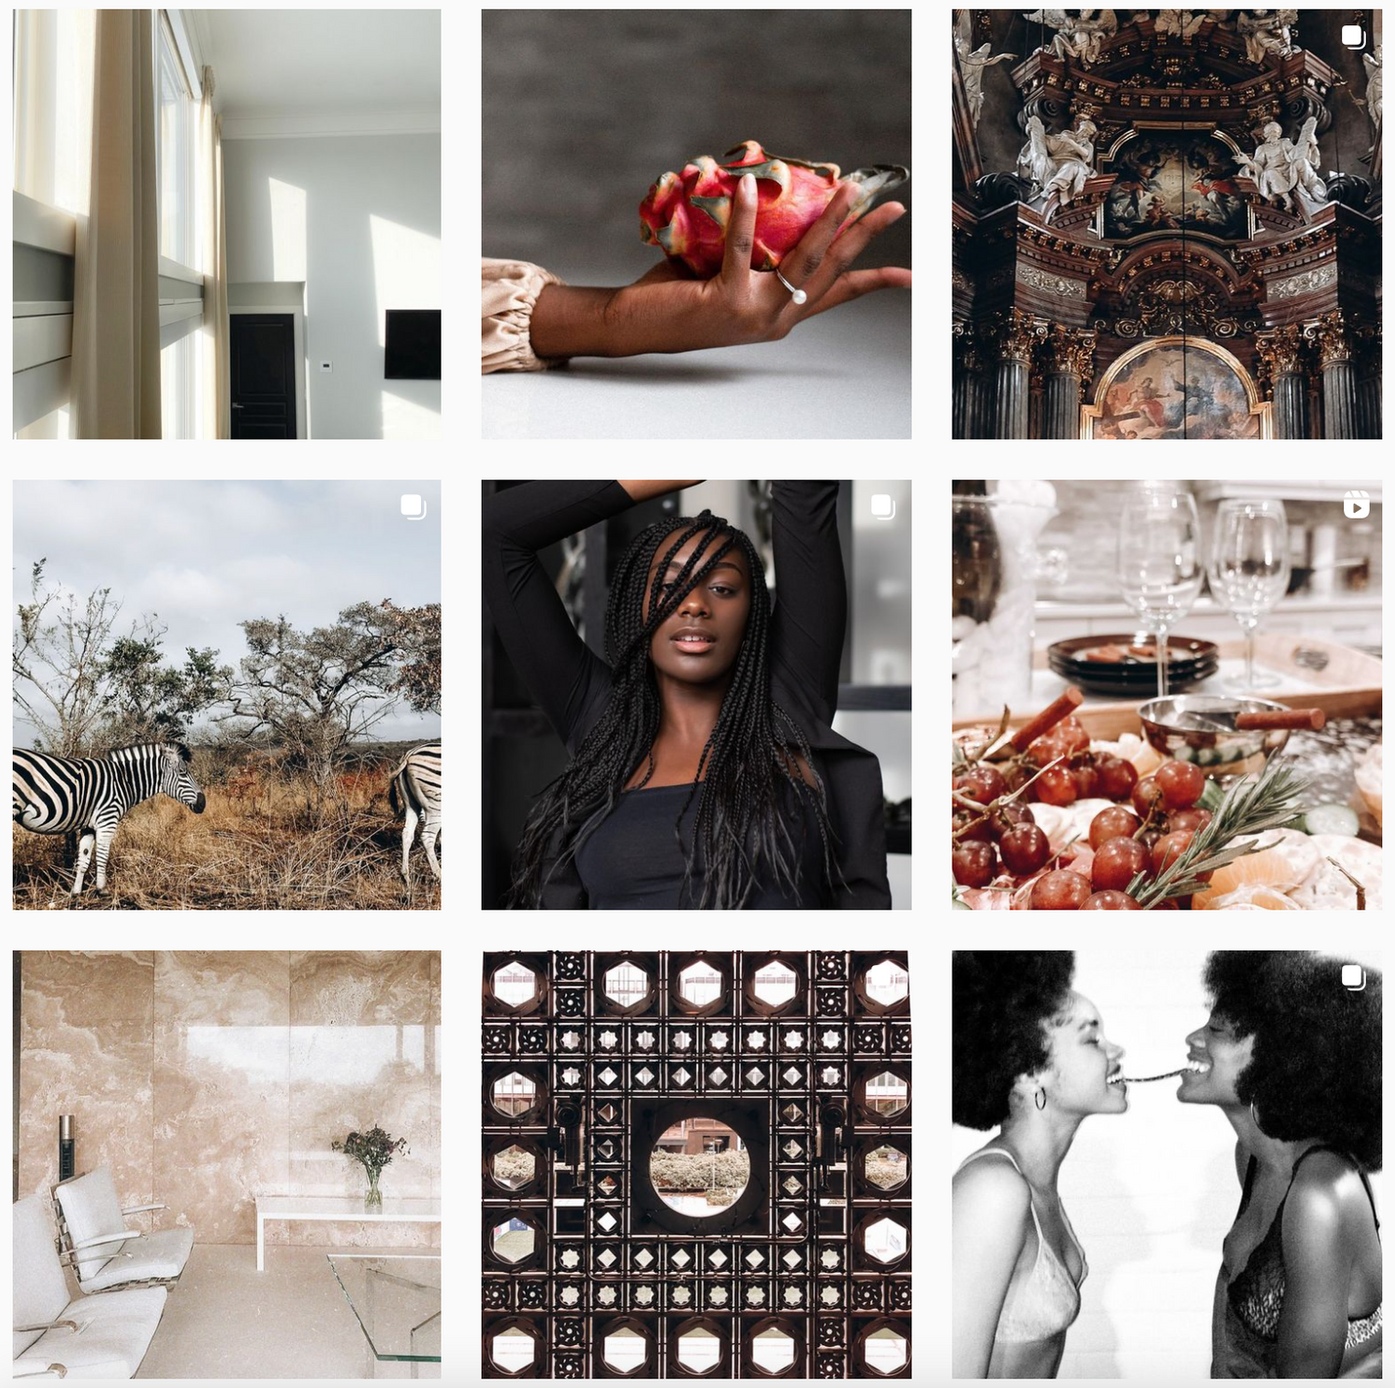
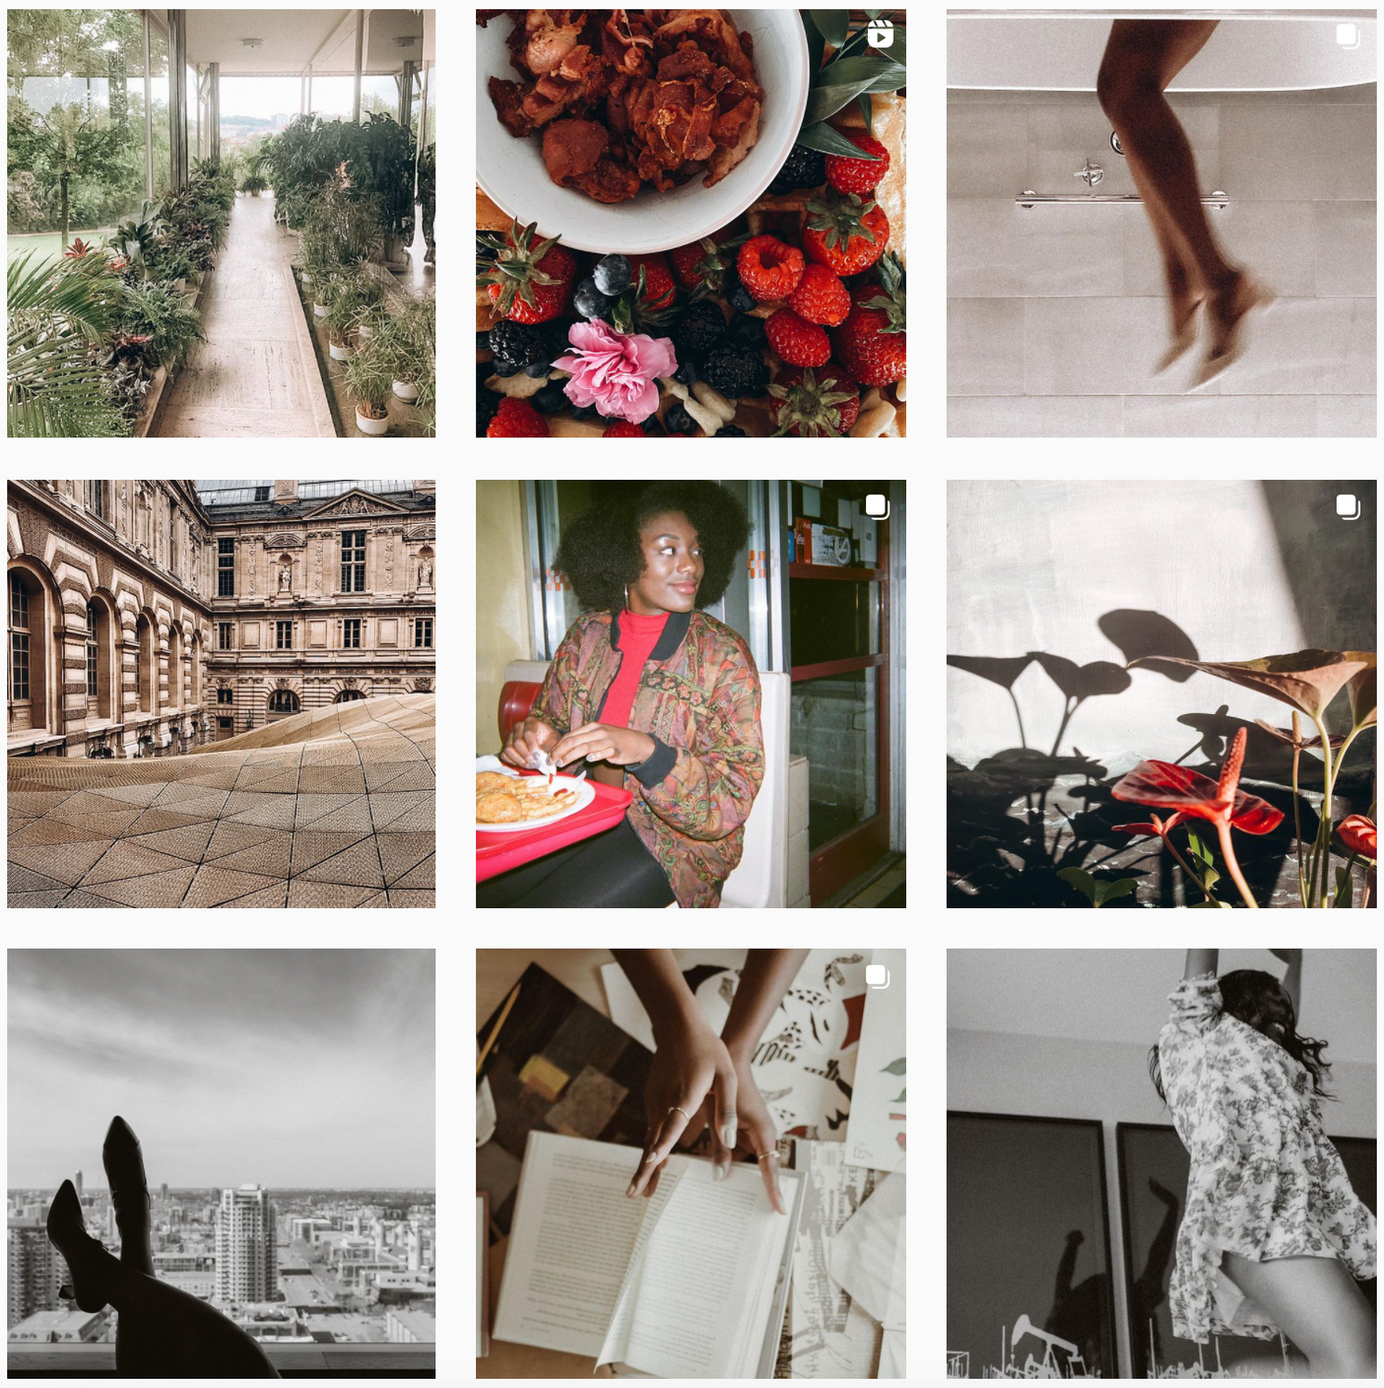
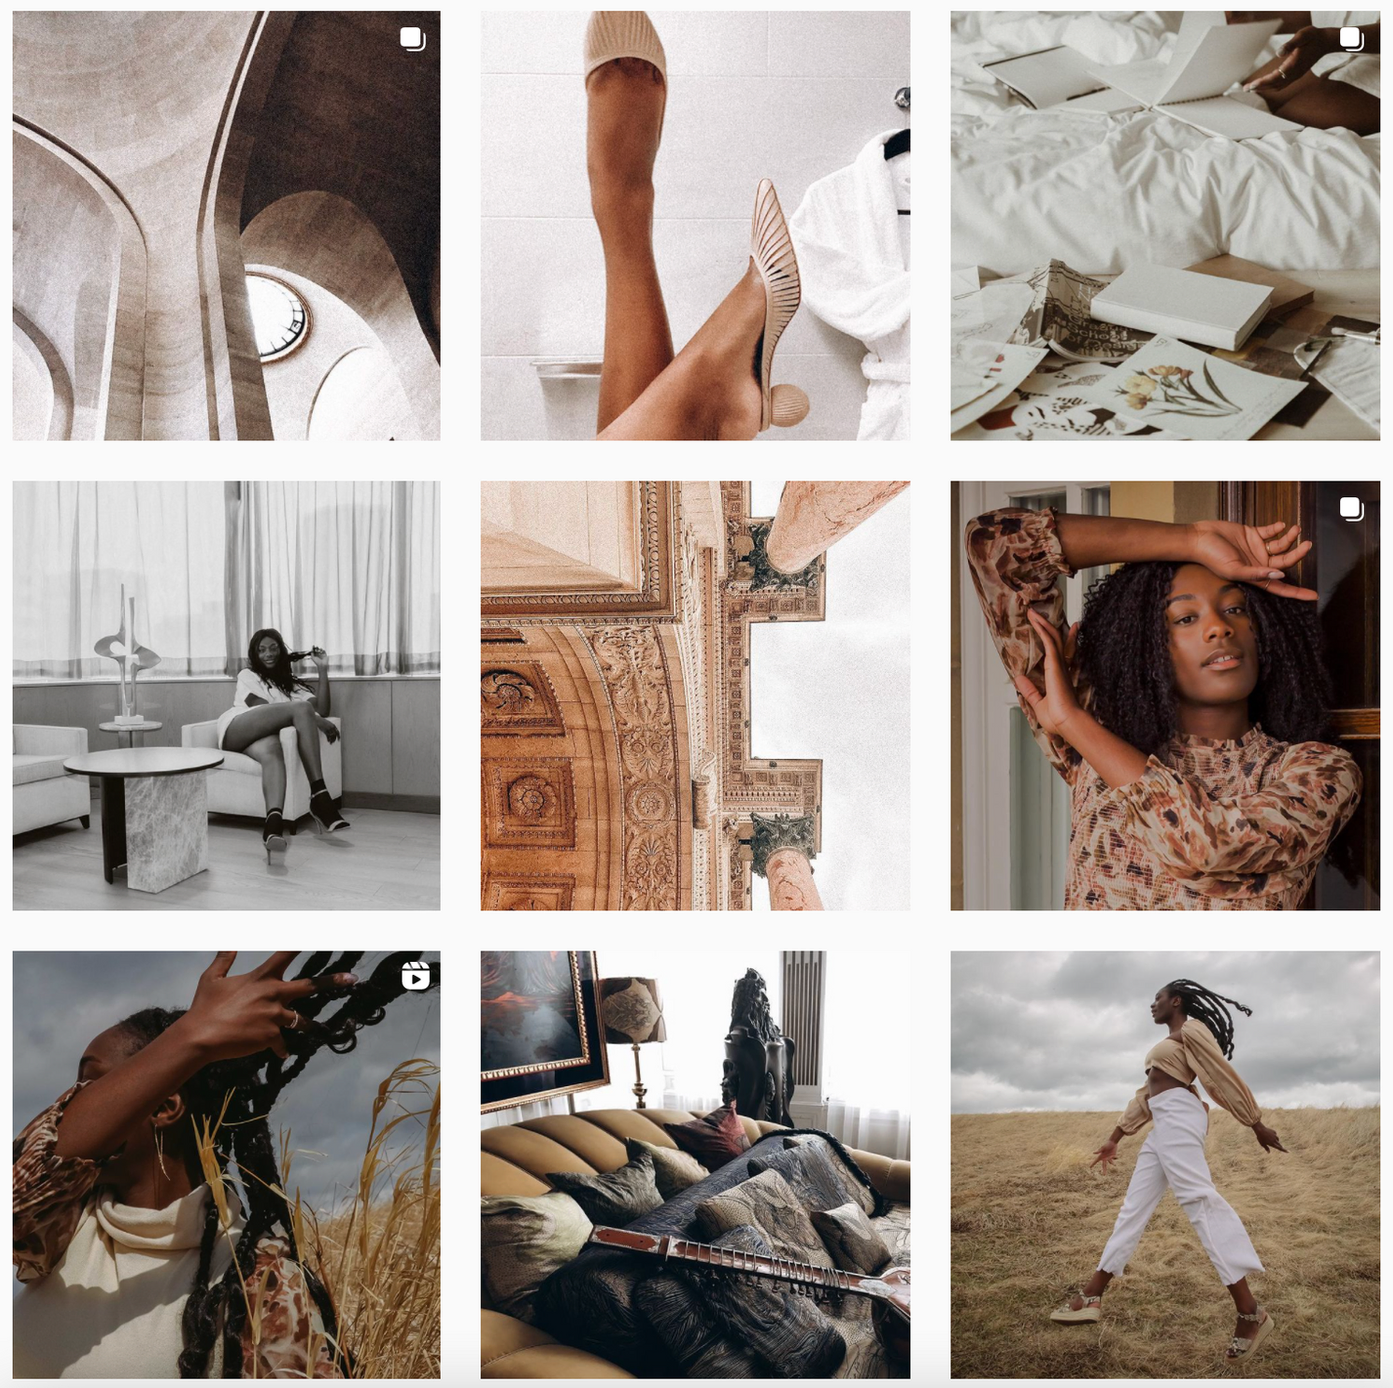
Looking at other people’s photos can help you get a better understanding of what you like. Pay attention to each image and make a note of what does and doesn't resonate with you. Note what makes that photo unique. For inspiration on creative posing, simple detail shots, and angling, connect with me on Instagram and bookmark the posts that inspire you. If Pinterest is where you collect visuals for reference, you can connect with me there as well.
PRESETS
Post-production refers to the edits performed after taking a photo. My favourite step in post-production is applying a preset. A good preset can breathe life into a mediocre image or make an already great photo even better. The iPhone app that we (and many other creators and businesses) use to edit is called Adobe Lightroom. With this free app, you can perform high-level and professional edits. To expedite this process, you may install Lightroom presets. A Lightroom preset is a configuration of settings designed to achieve a particular look or style of photography. You install the presets into your Lightroom, and then when you click on a particular preset, the pre-determined settings will apply to that photo. These are like filters but much better, and you have more control over tweaking the final result. If you are interested in purchasing presets, you can peruse some in our shop. My presets come in sets so that you have a package of 4-10 "filters" to make sure there is something that looks great with every photo. There is also a guide included that specifically describes how to capture images (lighting, subject matter, and composition) that will exude the feeling of the example image sets.

FRAMING
Apple's default camera app offers various modes and aspect ratios for taking pictures, including panorama, square, 4:3, and 16:9. It really helps to shoot in the mode you plan to publish for. For instance, when taking pictures I want to post to my Instagram story, I shoot in 16:9 by clicking the arrow at the top centre and changing the aspect ratio, rather than shooting in the default mode and cropping the image afterward. It helps you better frame your picture rather than trying to invent new framing after the fact.
For cleaner composition, always shoot with your grid on. If you don't see the thin lines breaking your screen into nine rectangles, you can turn this option on by visiting Settings > Camera and enabling the Grid switch. Once this is on, you can follow the rule of thirds, centre your subjects and generally have a better understanding of the balance in your photos.
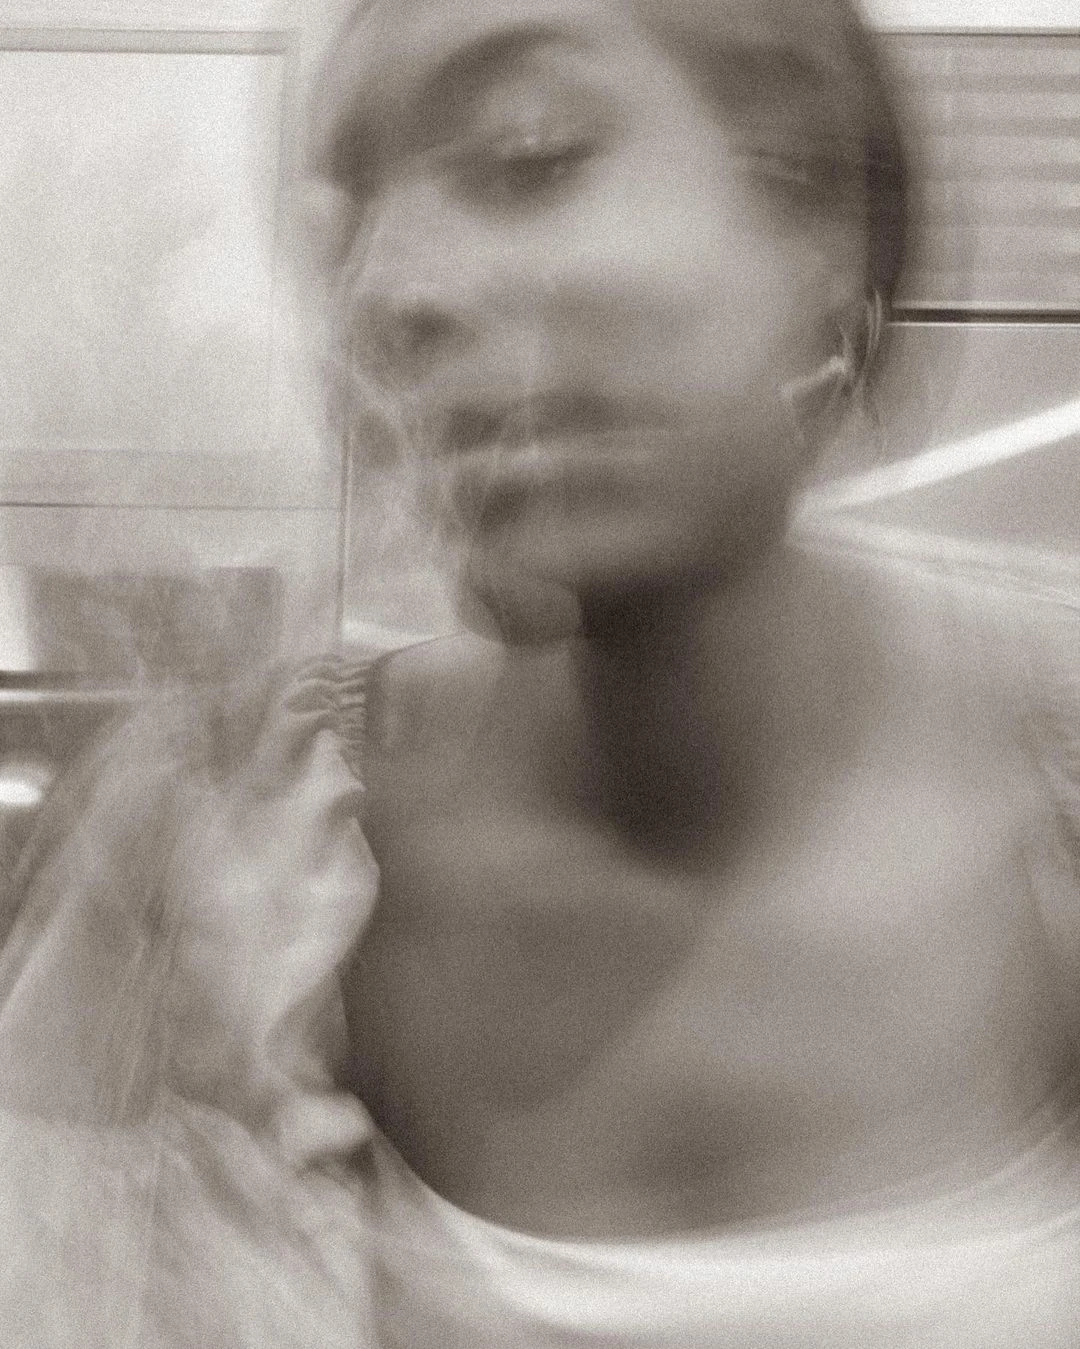
BONUS TOOL: LONG EXPOSURE
For dynamic shots, turn on live photos and capture movement. Select the image you have taken and swipe up. An effects panel will appear. From there, you can apply the long exposure effect and get an artsy and unique image. It typically takes a couple of tries for these images to look thoughtful rather than sloppy, so don't settle on your first shot.

Beautiful imagery is a powerful tool in conveying your brand's story. It can feel intense to work with a DSLR or film camera, but wonderful visuals can be created with something most of us have access to... a smartphone. Charge your phone, go out, experiment, and let us know how things go.